

I have my template from 3dMAX and photoshop printed out and taped on to my Gflex section, to see if I like where the cuts will be.
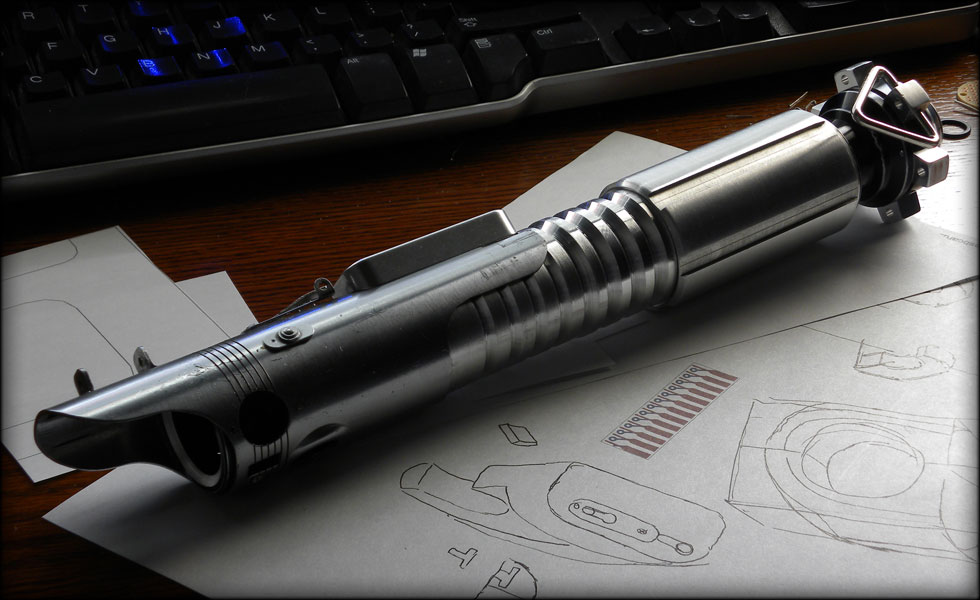
And after a good bit of dremel-fu, and an application of some Birchwood Casey brass black to the newly exposed yellow brass section, it's beginning to come together. The ribbed MHS piece is a bit too clean still, I want to darken or better yet anodize it so it gives contrast to the shrouded back end of the graflex top.
 I
I
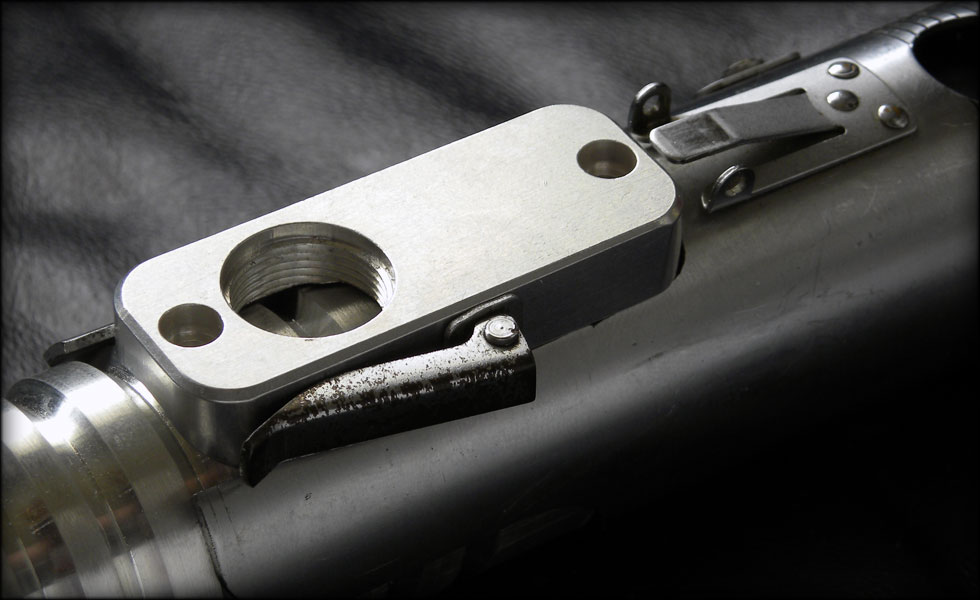
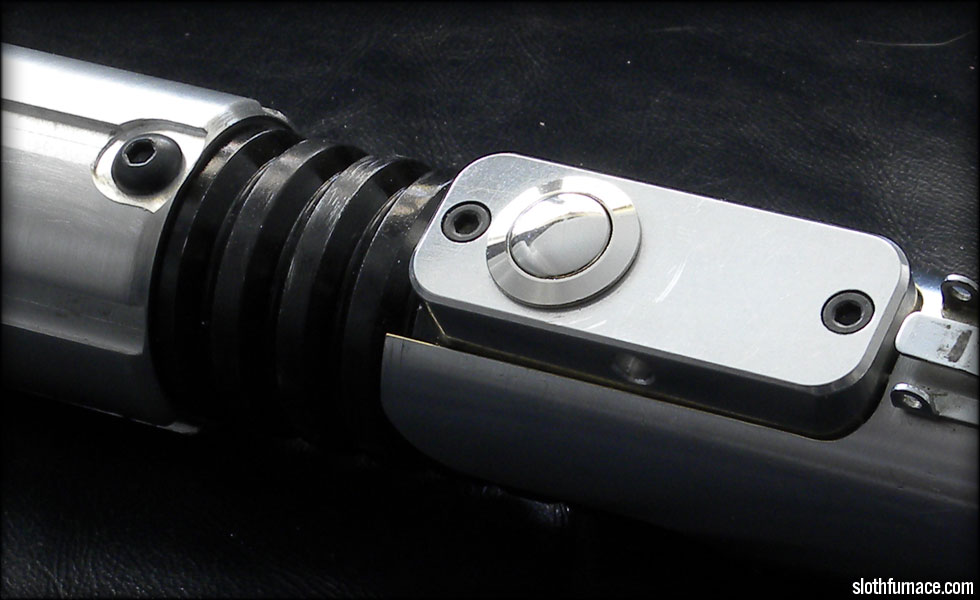
A bit of an update, I decided to install the graflex clamp lever I have into the new TCSS box... I drilled a hole through the side of the TCSS box, and a larger hole on the other side for the thinned nut.

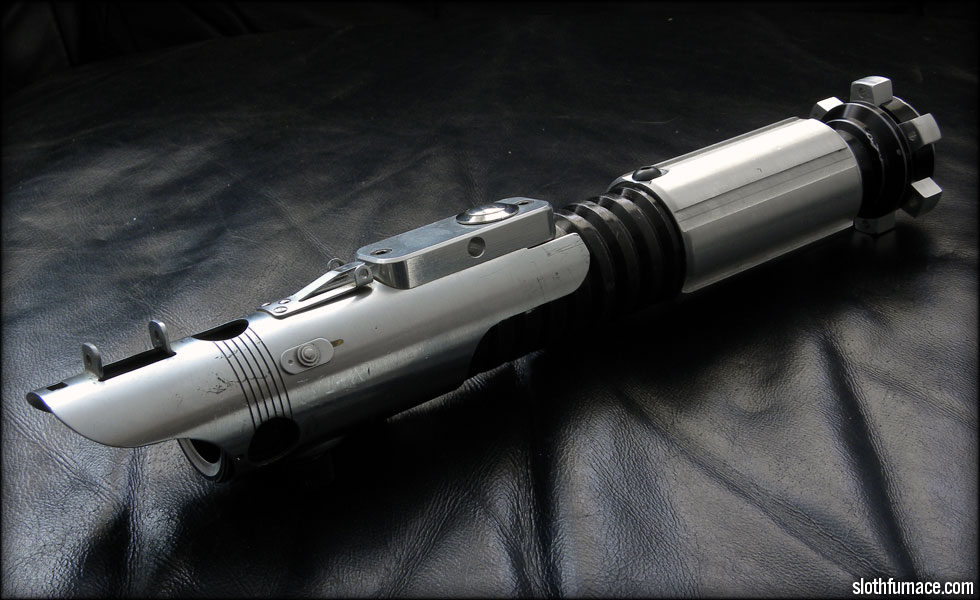
It makes the saber feel more "original trilogy" Which is what I am going for.

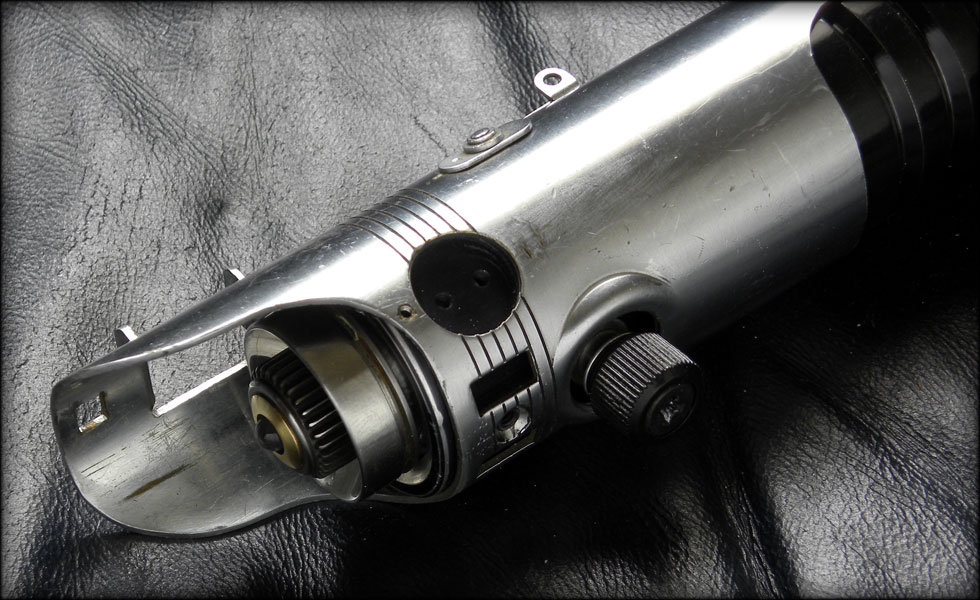
Here's a shot of the freshly painted middle ribbed section. I wanted to enhance the contrast between the graflex shroud and the middle area, to bring out the curves more. I may weather this down a bit some. I also need to cut a hole for the AV switch for the box.
A little work on the emitter, made from found pieces and a chunk of steel I dished and polished to mirror smooth so it reflects the blackened metal gear piece I have around the machined brass LED holder.
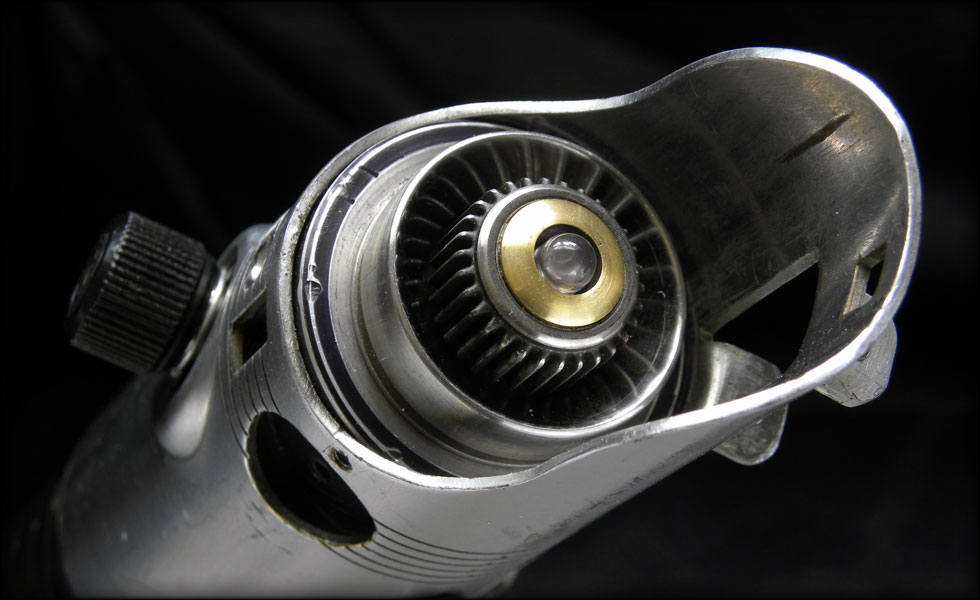
I like the way the outer steel piece reflects the grooves in the gear.
Last night I decided to widen the switchbox slot a bit on the Milling machine. Much easier to true it all up with that as opposed to using files and whatnot.
I also milled a slot for the back grip section screw, threaded the hole for that, and installed a black dome screw. Also found some black oxide hex cap screws to mount the switchbox on with. I had to mill out underneath the switchbox enough of a hole to fit the AV switch.
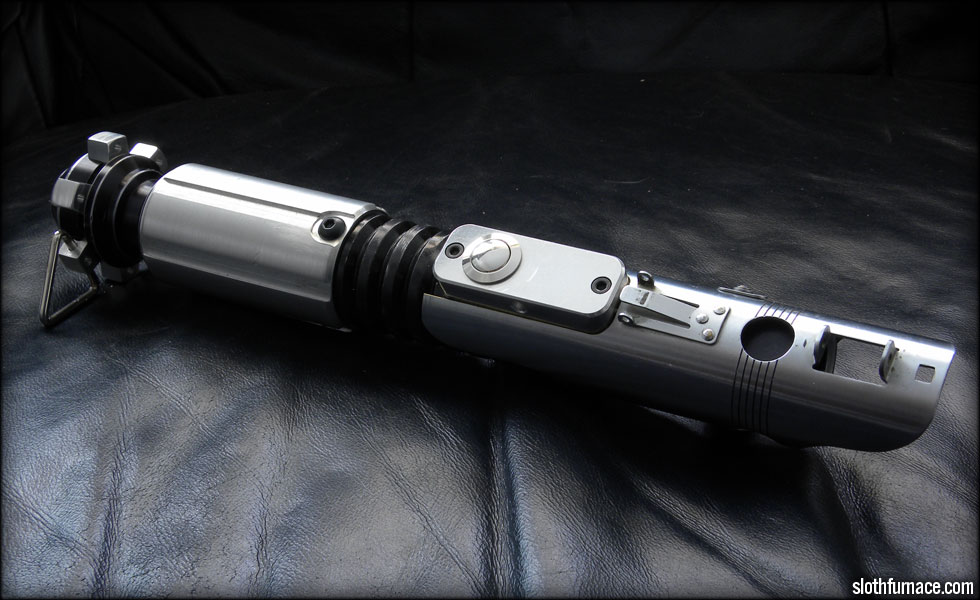
It's coming along, slowly but surely.
This site is part of the nonentity network. Not associated with LUCASFILM LTD.™ or any LFL Ltd.™ Film or Franchise.